To connect VK community channel, you must first create a new community.
To create a community, log in using your VK account, go to the Groups section and click the "Create community" button.
Choose the name of the group, select the type of community and subject.
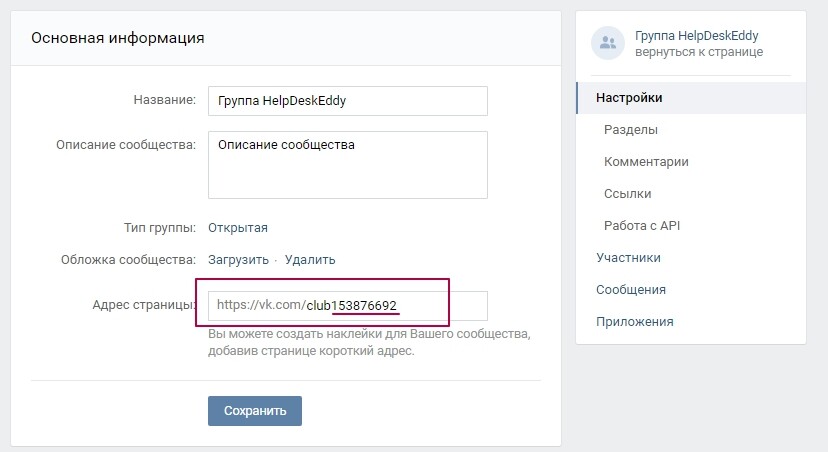
Then you can make the necessary settings for this community: add a description, set the type of group, add a website, open access to send personal messages, set a cover, etc. Each community has a unique number (ID); in your HelpDeskEddy system, the added groups / communities will also be identified by a unique number:

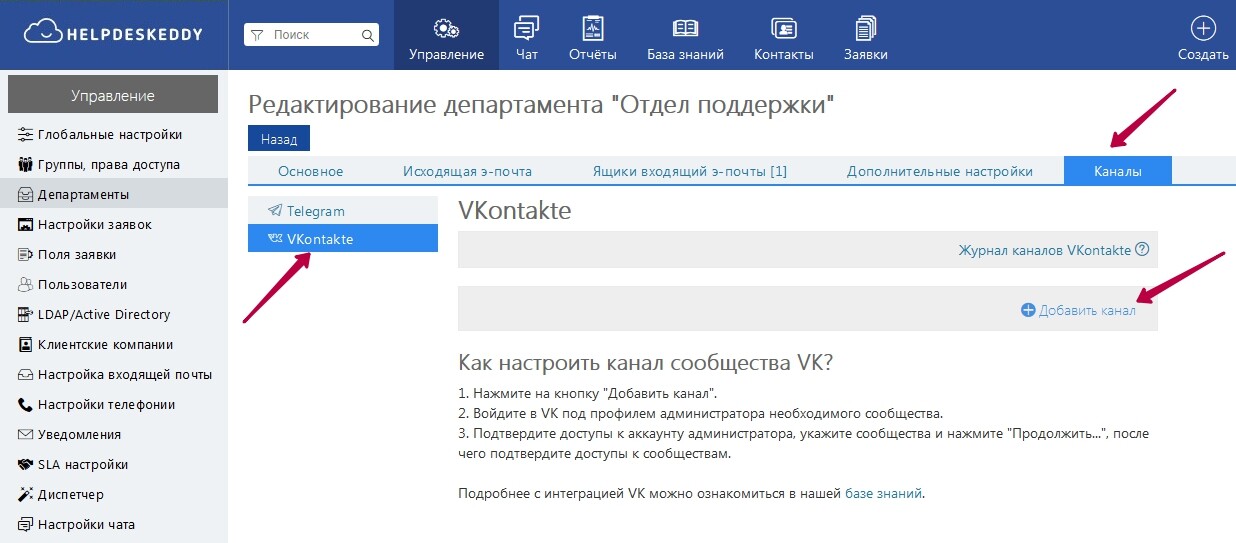
Go to Department Settings - Channels - VKontakte - Add Channel..
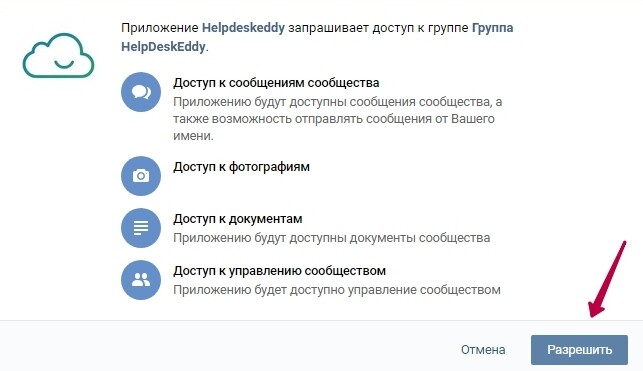
After clicking on the "Add Channel" button, you must allow HelpDeskEddy to access your account, select the necessary communities to connect to the system, and allow the application to access these communities:
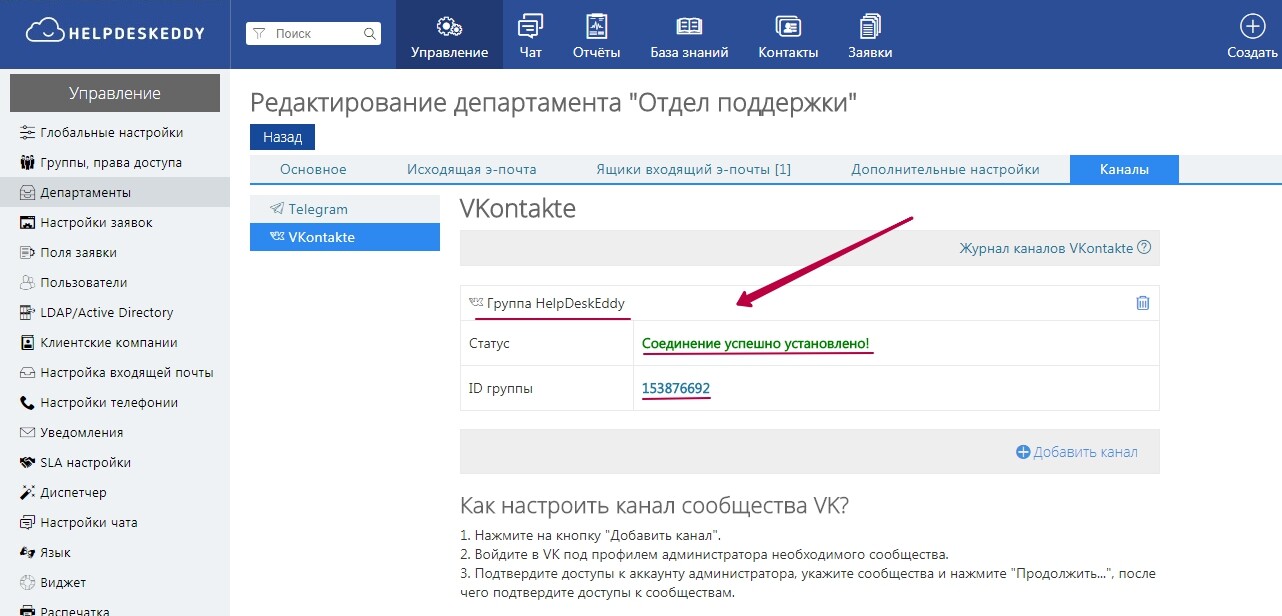
After that you will see in your system the name and unique number (ID) of the community, as well as a message about the successful connection.
Now, any user (client) using the VK account can write you a personal message, post or comment to the post to the group, and you will see it as a ticket.
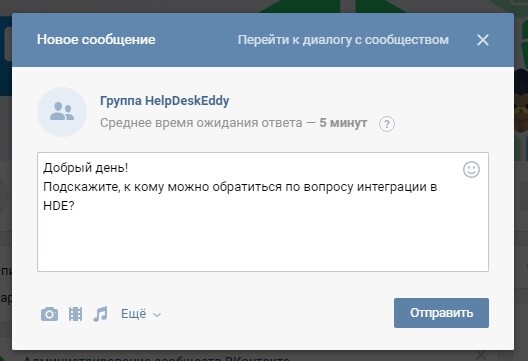
Example of a client's message:
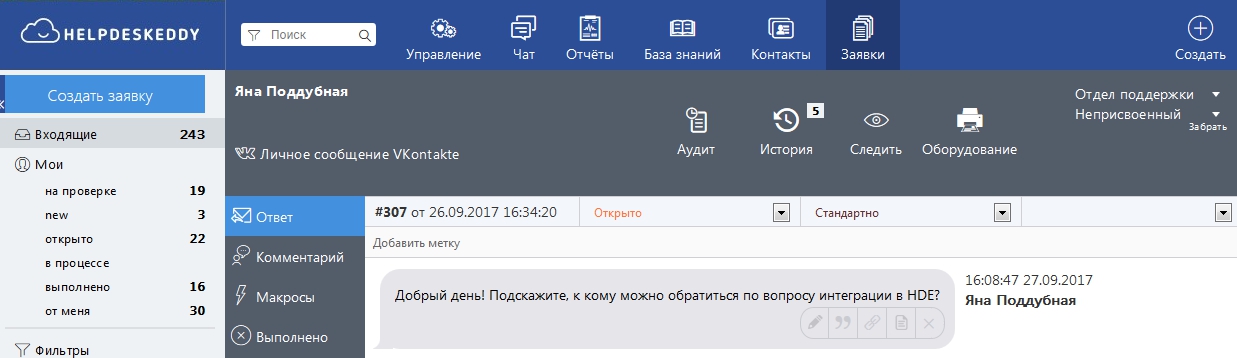
In the system it will be received as a normal ticket:
Also a user card will be created for the client who wrote you a message with his data from VK:

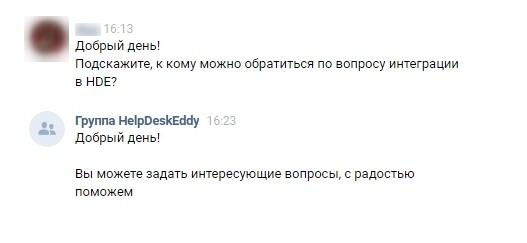
When you reply from the HelpDeskEddy system, the client will receive a message in the form of a casual VK message:
So you can connect the VK channel, and process tickets from a single system, while the client will use the usual way of communication - social network.