To connect Jira to HelpDeskEddy it is necessary to provide access to this module for specified groups of users: go to Management - Groups access rights, tick "Jira integration settings" and save:
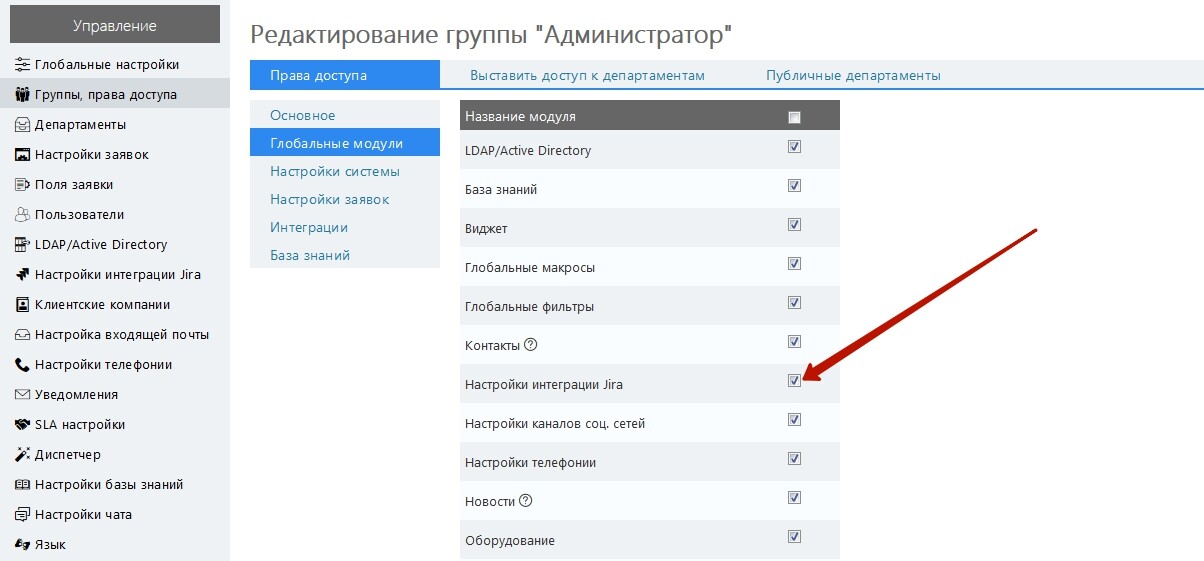
After that, this module will be displayed in the Management meni:
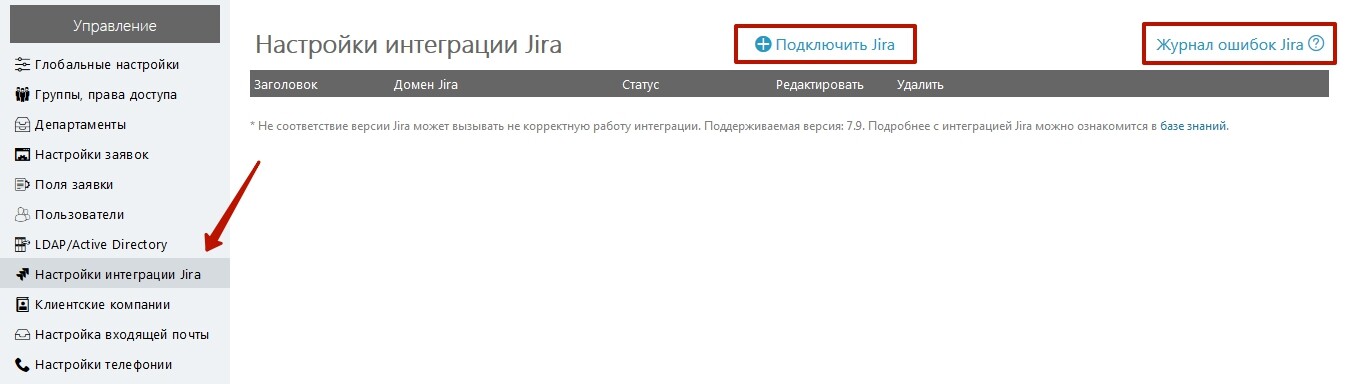
You can also connect Jira here and see the error log file.
When you click on the "Connect Jira" button, you must fill in the address of the Jira system, enter your login and password. Authorization can be made either by password or by token.
We want to note that when you connect the cloud and server Jira system, there are could be some features. At this point in the cloud system authorization can be made either with a password or with a token. The boxed version assumes password authorization only. In the future, for cloud solutions, it is planned to leave only token authorization, so we recommend initially using this method for authorization.
To connect using a login and password, you must use the credentials of your Jira system.
If you authorize by login and token, then the token of your system must be initially generated by authorizing on the Jira portal. To do this, go to https://id.atlassian.com, enter your Jira system authorization data, then go to Tokens and click Create token button:
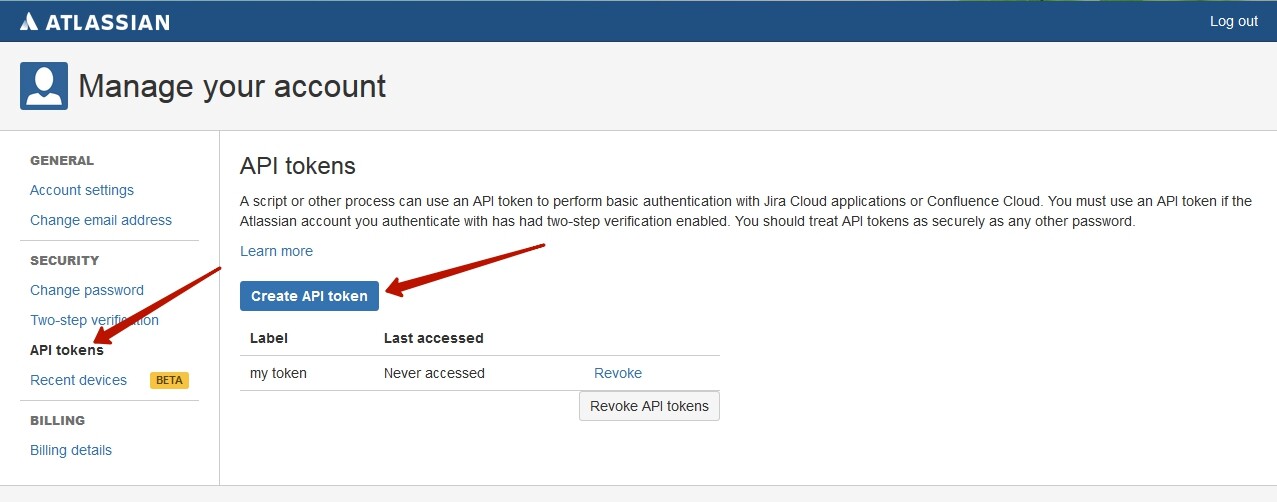
Then enter Label - the name of the key and click Create.
If token is successfully generated, a message with a generated token will appear on the screen, which can be viewed and copied:

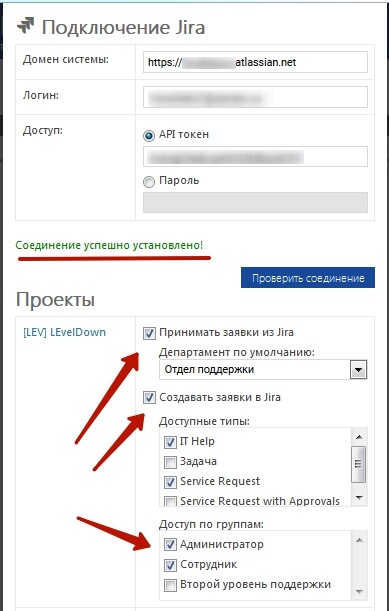
Then you must enter the data to connect it: enter the system address, login and token from Jira and click Check the connection button:

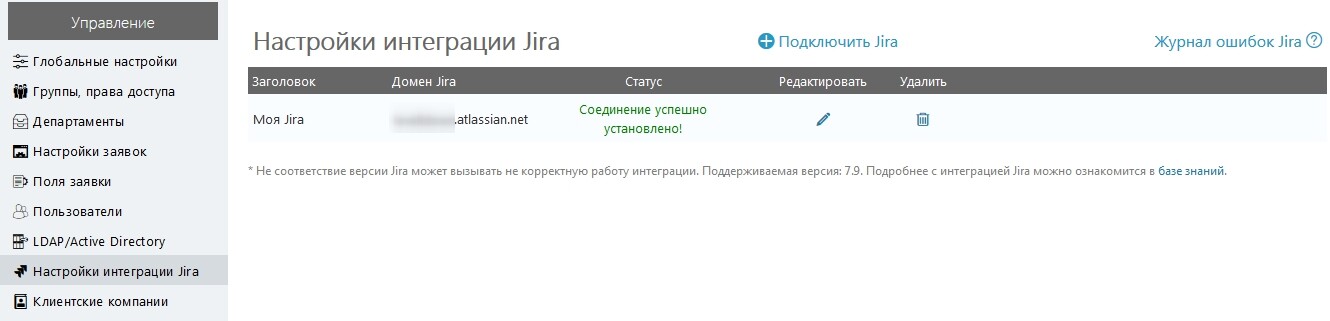
If connection was successful, the message "Connection has been successfully established!" will be displayed, as well as a list of available features:
An example of the work "Accepting tickets from Jira" and "Creating tickets in Jira", as well as additional information about integration can be found here.
After connection status will be look like this: